How to Create a Welcome Email Sequence That Converts
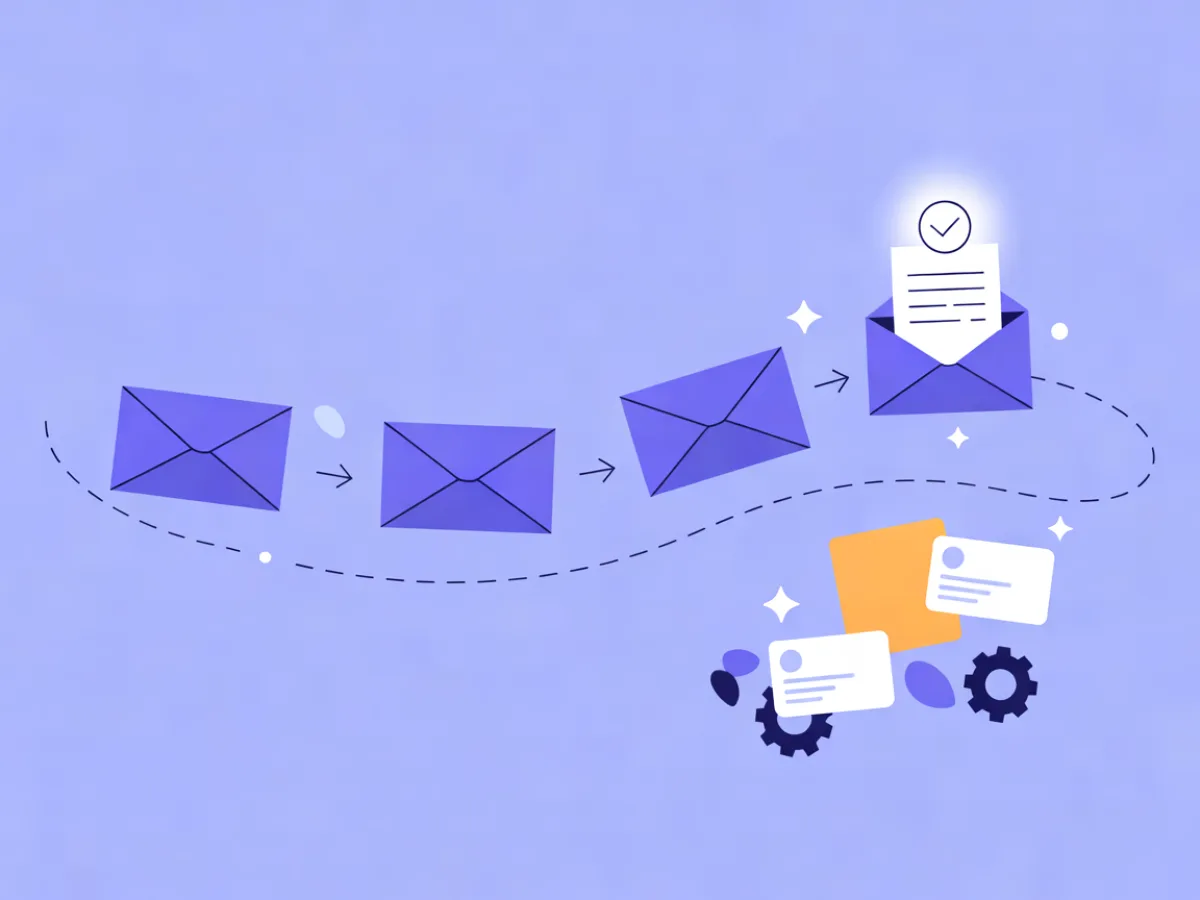
A welcome email sequence is a triggered automation that fires when someone signs up and then runs on its own clock, delivering a short, ordered set of emails that turn a new subscriber into someone who takes one meaningful action. It is not a campaign you send to a list on a Tuesday; it is a flow that starts per contact and ends when the contact converts or the sequence runs out. This guide walks through a five-email series, the exact settings to build it, and how to verify it works before real subscribers see it.
What a welcome email sequence is actually for
A welcome email sequence does three jobs, and every email in it should serve at least one of them:
- Deliver what was promised. If the signup form offered a checklist, a discount, or a demo, the first email is the delivery mechanism. Anything else in that email competes with the promise.
- Set expectations for what arrives next. Tell the reader how often you email, what kind of content it is, and how to change their preferences. This reduces unsubscribes later because nobody feels ambushed.
- Move the reader toward one first action. Not five actions. One: book a call, start a trial, reply to the email, use the code.
The difference between a welcome series and a newsletter is structure. A newsletter is ongoing and unordered. A welcome series is finite, ordered, and often conditional — email five can look different depending on what the reader did in email four. That conditionality is what separates a sequence from a drip of announcements.
Choosing a provider at the same time? Our comparison of the Best Email Marketing Platforms ranks them by verified prices for your list size and sending volume.
What you'll set up and what you need
Before you build anything, get these in place:
- A signup form with double opt-in and consent records. You need proof of consent, not just an email address. Mailerflow's embeddable forms handle double opt-in and store consent records, which matters if anyone ever asks how a contact joined.
- A verified sending domain. Set up DKIM, SPF and DMARC on your own domain. Mailerflow guides this setup and verifies it automatically, and own-domain sending is what keeps a new sequence out of spam folders.
- One clear first conversion goal. Write it down: first purchase, demo booking, or a reply. Every email points at it.
- Five email drafts. Rough is fine. You will edit after you see them in the builder.
On cost: Mailerflow's Free plan covers 2,500 contacts, 10,000 emails a month, and 3 active automations, which is enough to run this sequence. Paid plans start at $14.90/month and include unlimited emails.
The 5-email welcome series: goal, timing and content
Five emails beat one because each one answers a different question a new subscriber has. Here is the structure.
Email 1 — Instant: deliver and ask for one micro-action
Timing: immediately on signup (wait of 0 minutes). Goal: confirm the subscription and deliver the promised asset. What to write: one line of thanks, the asset or link, and one tiny action — reply with a word, click to confirm a preference, or add the sender to contacts. Example line: "Here's the checklist you asked for. Hit reply and tell me which step you're stuck on — I read every reply." Success signal: delivery rate near 100% and a reply or click within the first hour.
Email 2 — Next day: the story and the problem
Timing: wait 1 day. Goal: explain why you exist and name the problem you solve, in the reader's words. What to write: a short origin story or a plain explanation of the problem, then one sentence connecting it to the reader's situation. Example line: "We built this because tracking renewals in a spreadsheet breaks the moment you have more than twenty customers." Success signal: click-through on any link in the email; even a low click rate here is normal.
Email 3 — Day 3: proof and objection handling
Timing: wait 2 days after email 2. Goal: remove the biggest reason someone hesitates. What to write: use product demos, documentation, a walkthrough video, or a founder explanation of how something works. Avoid vague claims; show the mechanism. Example line: "Here's a two-minute walkthrough of how imports handle duplicate rows — the part most tools get wrong." Success signal: clicks to the demo or docs page, and replies asking specific questions.
Email 4 — Day 5: the offer with a deadline
Timing: wait 2 days after email 3. Goal: make the first conversion offer with a clear end date and a single call to action. What to write: the offer, what it includes, when it expires, and one button. Remove every other link. Example line: "Start the trial before Friday and your first month includes onboarding. One button below." Success signal: conversion rate on this email versus emails 1–3.
Email 5 — Day 8: the branch
Timing: wait 3 days after email 4. Goal: split the audience. Buyers get onboarding; non-buyers get an FAQ or a lower-commitment step. What to write: for buyers, next steps and what to do first. For everyone else, answer the top three objections or offer a smaller step like a guide or a newsletter-only path. Example line (non-buyer): "Not ready? Here are the three questions people ask before they start." Success signal: the branch fires correctly and both paths get clicks.
A note on timing: fixed delays are a fine default, but Mailerflow automations also support "send when the contact is most active," which shifts the send to the window where that contact usually opens. And because A/B testing applies to campaigns rather than automation steps, test subject lines on the individual sends instead.
Step-by-step: build it in your automation builder
- Create the trigger. Use the signup event from your form, or a tag added on import. If you import a list, tag those contacts so the sequence does not fire for people who never opted in.
- Add the waits. Email 1: 0 minutes. Then 1 day, 2 days, 2 days, 3 days between the rest.
- Add the condition after email 4. Check "has purchased" or "clicked offer link." Route buyers to an onboarding path and everyone else to email 5.
- Add a goal or exclusion. Contacts who convert should exit the sequence rather than keep receiving sales emails.
- Set sending windows and enable send-when-most-active.
- Activate the automation and confirm the status shows active, not draft.
If you would rather not build the flow by hand, Mailerflow's AI automation builder takes a one-sentence description and drafts the trigger, waits, conditions and emails for you to review before activation. The AI email builder does the same for individual emails: describe one and get a responsive design plus subject lines and preview text. Treat both as first drafts and edit by hand — your voice is the part that converts.
A worked example: a 5-email sequence for a project-management tool
This is an illustrative example, not a customer story. Imagine a SaaS with a free trial signup.
Trigger: form submission on the pricing page.
| # | Wait | Subject line | Body in one line | CTA |
|---|---|---|---|---|
| 1 | 0 min | Your workspace is ready | Login link plus one setup step | Open workspace |
| 2 | 1 day | Why we built this for small teams | The spreadsheet problem, in plain terms | Read the story |
| 3 | 2 days | How imports handle messy data | Two-minute walkthrough | Watch demo |
| 4 | 2 days | Trial plus onboarding, until Friday | Offer, deadline, one button | Start trial |
| 5 | 3 days | The three questions before you start | FAQ for non-buyers; onboarding steps for buyers | See FAQ |
Branch condition after email 4: if the contact started a trial, send onboarding; otherwise send email 5. Exit goal: trial started.
How to check it works before you send to real people
- Add yourself through the real form. Watch each email arrive at the expected interval. If email 2 shows up in two minutes, your wait is wrong.
- Check the automation's delivery logs and the webhook delivery logs for the signup event. Mailerflow's signed webhooks include retries and delivery logs, which is where you confirm the trigger actually fired.
- Simulate the branch. Start a trial or click the offer link and confirm you get the onboarding path instead of email 5.
- Confirm suppression is on for bounces and complaints, and that your test contact has a consent record.
- Review analytics for delivery, bounces, complaints, clicks and approximate opens, per campaign and overall. Opens are approximate because of privacy features in mail clients, so treat open rate as a directional signal, not a precise number.
Common mistakes and how to fix them
- Sending all five emails in three days. Space them out; a new subscriber needs time to read and act.
- Multiple CTAs per email. Pick one. Every extra link splits attention.
- Writing to "everyone." Use dynamic segments on fields, tags, engagement, events and website behavior so the sequence stays relevant. AI segmentation from a plain-language description is a fast way to build the first version.
- No exit condition. Buyers should leave the sales path immediately.
- Ignoring mobile preview. Most readers open on a phone; check the layout there first.
- Skipping the double opt-in confirmation email. It is part of the sequence, not a separate chore.
- Letting the sequence run forever. Give it a defined end state.
Next steps: from first sequence to a welcome system
Once the five emails work, extend the system. Add a branch for high-intent website behavior using the JS SDK, so readers who visit pricing twice get a different email 4. Add a re-engagement path for contacts who never open. Connect the sequence to a longer onboarding flow.
This article is the pillar of the Welcome Sequences cluster. Supporting pieces to read next: welcome email templates you can copy, B2B welcome emails for new leads, and welcome email metrics. If your product also sends receipts or password resets, keep those on the transactional email API's high-priority lane so they never queue behind marketing sends.
FAQ
How many emails should a welcome sequence have?
Four to five is a practical range. Fewer than three rarely covers delivery, story, proof and offer; more than six starts to feel like a newsletter. The right number is however many it takes to answer your reader's questions before they act.
How long should a welcome sequence be?
About a week to ten days from signup to the final email. That gives each message room to be read without the reader forgetting who you are.
Should the first email send immediately?
Yes. The signup moment is when attention is highest, so deliver the promised asset within minutes. Use a wait of 0 minutes on the first step.
What if someone buys during the sequence?
They should exit it. Add a goal or exclusion so a purchase removes the contact from the sales path and routes them to onboarding instead.
Do I need double opt-in?
It depends on your region and how you acquired the contact, but it is the safer default. Double opt-in creates a consent record and reduces complaint rates.
Can I use the same sequence for every signup source?
Not ideally. A pricing-page signup and a blog-subscriber signup have different intent. Either branch on the source or run separate sequences per source.
Describe this automation in a sentence and Mailerflow drafts the workflow for you to review — start free.